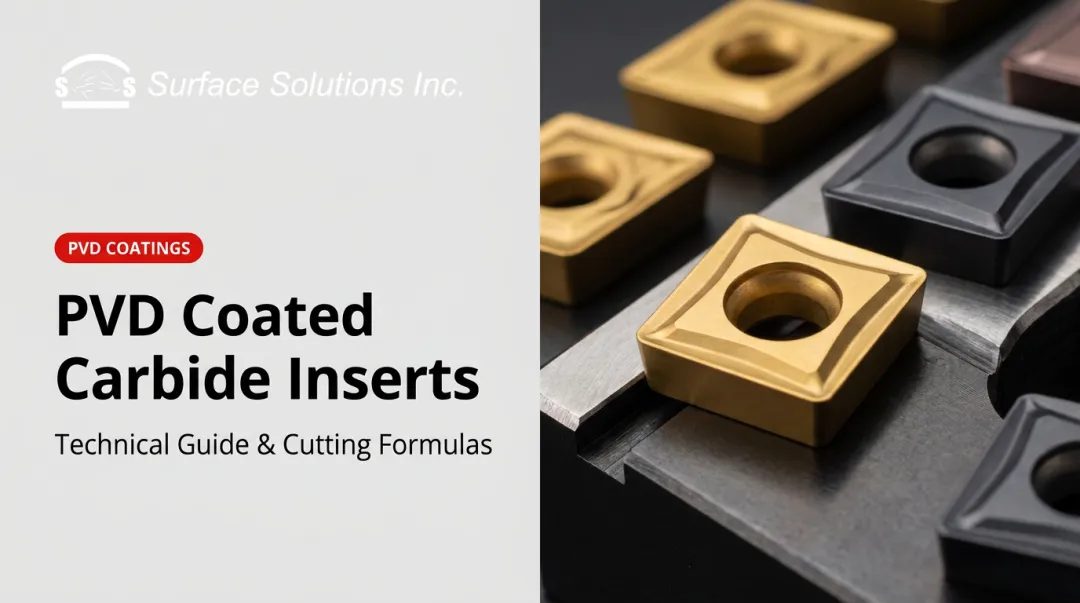
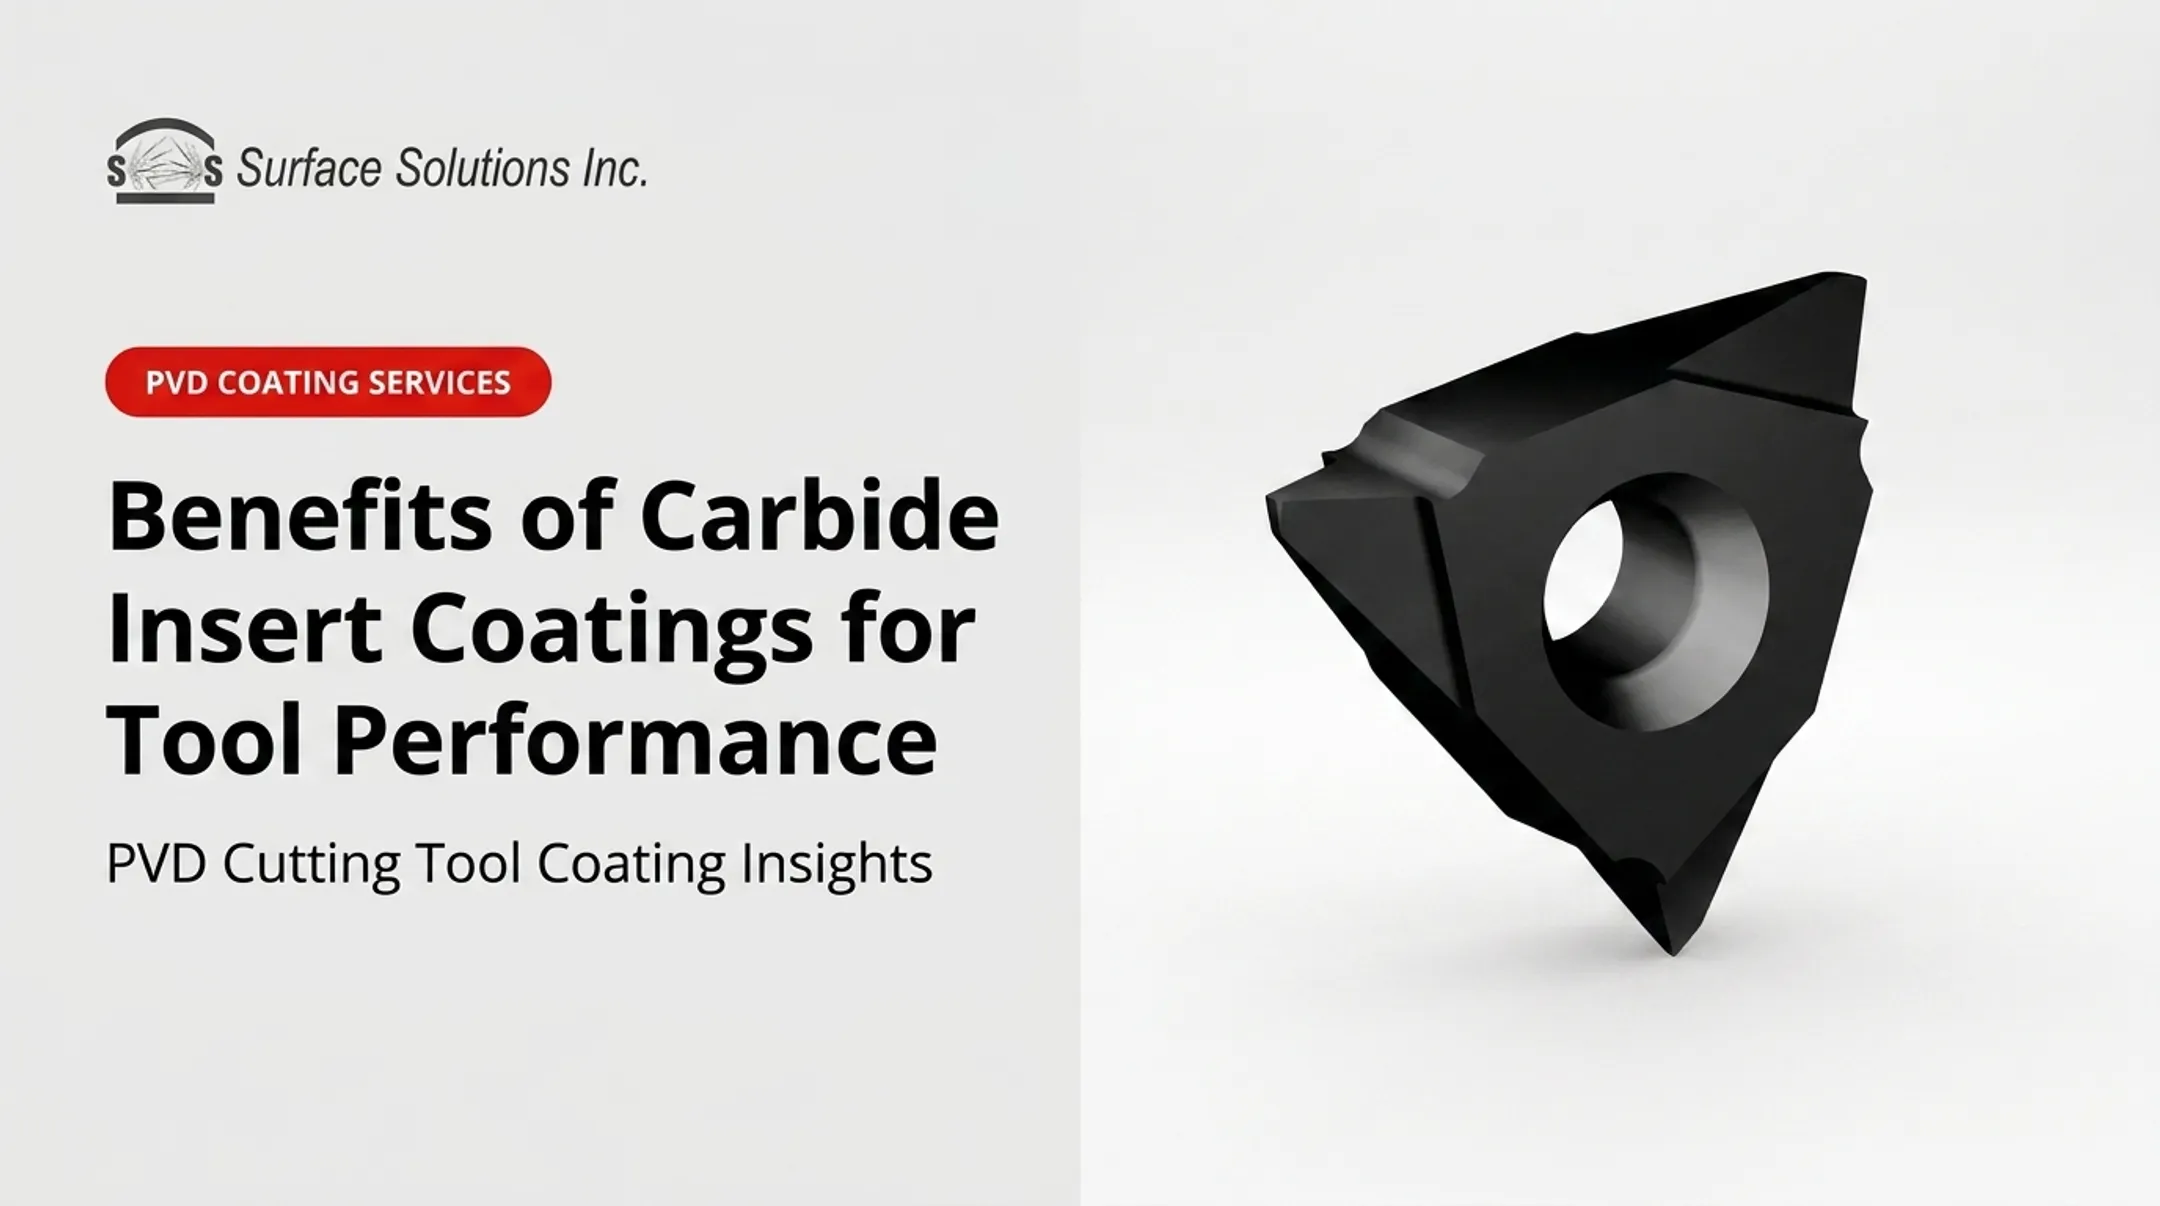
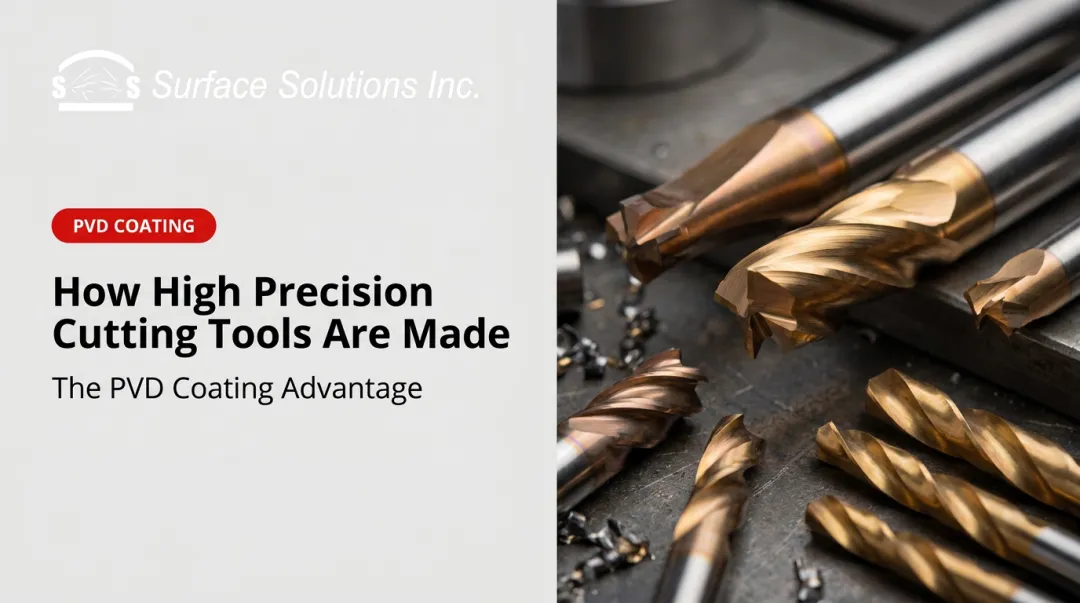
If you spec tooling, troubleshoot premature wear, or justify tooling budgets to procurement, knowing how these inserts come together changes how you buy and use them. Powder metallurgy and sintering get mentioned constantly in tooling catalogs and sales calls, but rarely explained at the level that actually helps you make a decision.
This article covers what carbide inserts are made of, the manufacturing stages that turn powder into a finished cutting edge, what separates a good insert from a mediocre one, and where coating fits into a tool's overall lifecycle.
Key Takeaways
- Carbide inserts start as tungsten carbide powder and cobalt binder, pressed into blanks and sintered at 1,500°C
- Six manufacturing stages shape hardness, toughness, and dimensional accuracy; mistakes at any stage can't be fixed later
- Grain size, cobalt ratio, and sintering control decide whether an insert suits roughing, finishing, or high-heat work
- A PVD or CVD coating, applied last, often does more for tool life than the base carbide grade
What Are Carbide Inserts Made Of?
Carbide inserts are cemented tungsten carbide (WC): hard, ceramic-like particles bonded together with cobalt (Co) metal binder, pressed and heat-fused into a precise cutting-edge shape. It's a composite material engineered so the WC grains carry the hardness and the cobalt carries the toughness that keeps the tool from shattering under load.
The blend is designed to do one job well: create a material harder than hardened steel that survives cutting-edge temperatures without deforming or wearing prematurely.
Typical composition:
- Tungsten carbide phase generally makes up more than 80% of metalcutting-grade inserts, with cobalt binder filling most of the remainder, according to Sandvik Coromant
- Cobalt content commonly ranges from roughly 3% to 20%, depending on whether the grade prioritizes hardness or toughness
- Additives like titanium carbide (TiC) or tantalum carbide (TaC) show up in steel-cutting grades to improve hot-hardness and reduce crater wear

That same tungsten-cobalt blend also explains how carbide inserts differ from other cutting tool formats. Inserts vs. solid carbide and HSS: Carbide inserts are indexable, meaning they're replaceable cutting tips clamped into a reusable steel tool holder rather than a one-piece tool body.
Solid carbide tools, like end mills, are machined entirely from a single carbide blank. High-speed steel (HSS) tools use a different alloy that softens at much lower temperatures, which is why carbide dominates high-speed, high-heat production work.
"Carbide grade," though, doesn't mean one uniform material. It refers to a specific powder blend, grain size, and cobalt ratio, selected for the material being cut and the failure mode being avoided. A grade built for interrupted-cut steel milling looks nothing like one built for finishing aluminum.
How Carbide Inserts Are Made: The Complete Manufacturing Process
Every carbide insert follows the same basic path: raw powders get blended, compacted into shape, heat-fused into a solid mass, ground to precision dimensions, and usually coated before shipping. What varies between manufacturers, and between grades, is how tightly each stage gets controlled.
That control matters more than most buyers assume. Each stage changes the material's density, hardness, and dimensional accuracy, and a mistake at any single stage can't be corrected downstream. Powder milled unevenly produces an insert with inconsistent hardness that no amount of later grinding will fix.

Step 1: Powder Preparation and Milling
Tungsten carbide powder gets blended with cobalt binder and, depending on the grade, additives like TiC or TaC. The mixture is wet-milled with ethanol or water for anywhere from 8 to 55 hours, depending on the recipe and target particle size, per Sandvik Coromant. The slurry then gets spray-dried into free-flowing granules, approximately 20 to 200 microns, ready for pressing.
Step 2: Pressing Into Blanks
The granulated powder gets compacted under high pressure in insert-shaped molds. The result is a fragile "green blank," pressed to roughly 40-50% of its final theoretical density, deliberately oversized to account for shrinkage during sintering. At this stage, the blank has the structural integrity of chalk. It can be handled, but just barely.
Step 3: Sintering
This is where the insert actually becomes an insert. Green blanks go into a furnace, typically around 1,500°C for roughly 13 hours in production settings. The heat melts the cobalt binder, which flows between the tungsten carbide grains and pulls them into a dense, solid mass through liquid-phase sintering. The part shrinks substantially as porosity collapses and the material densifies.
Step 4: Grinding and Precision Shaping
Sintered blanks are hard, but not yet dimensionally accurate. Diamond grinding wheels shape the top and bottom faces, then six-axis grinding cuts the final geometry, clearance angles, and edge preparation. Some specialized geometries use EDM for shaping, though it's more common in custom, low-volume work than standard indexable inserts.
Step 5: Coating
Many inserts, especially those cutting ferrous or high-temperature materials, get a CVD or PVD coating before shipping. CVD coatings apply at roughly 700-1,050°C and bond aggressively to the substrate. PVD coatings apply at lower temperatures, typically 400-600°C, which preserves a sharper cutting edge. Common coating materials include TiN, TiAlN, and Al2O3.
Coating quality varies considerably by provider. Surface Solutions, for example, applies PVD coatings including Alpha™ and CrN at 700-800°F, in thicknesses of just 0.0001-0.0002 inches (2-5 microns), thin enough to preserve an insert's exact geometry while adding real wear resistance.
In a documented case study machining 304 stainless steel with a 3-corner carbide insert, an AlTiN coating delivered 6x the tool life of standard TiN, at a coating cost of roughly $2.50 to $4.00 per tool. The same coating process scales beyond cutting inserts too: one customer applying it to forming tools saw part counts jump from 10,000 to 60,000 before resharpening.
Step 6: Quality Control and Inspection
Before shipment, finished inserts go through dimensional inspection using optical comparators or CMM, hardness testing (Rockwell A or Vickers, per ISO 3738 and ISO 6507), and microscopic edge and microstructure checks for porosity or grain defects under ISO 4499-4. Manufacturers compare finished parts against the batch blueprint before packaging. A single failed insert in a batch usually points to a problem several stages upstream, not a random defect.
Why Precision Manufacturing Matters in Cutting Tool Applications
Cutting operations push inserts to their limits. At the cutting edge, temperatures regularly exceed 760°C, according to Cutting Tool Engineering, and the insert has to hold its geometry and hardness through that heat without chipping or deforming.
That's exactly what the manufacturing process is engineered to deliver:
- Consistent grain structure resists heat-driven softening
- Controlled density prevents micro-cracking under repeated impact
- Precision grinding keeps every cutting edge within tolerance, insert to insert
When any stage gets rushed or poorly controlled, the failure shows up on the shop floor, not in a lab report:
- Premature chipping from inconsistent binder distribution
- Uneven hardness across a batch, so some inserts wear fast and others don't
- Dimensional variance that causes vibration, chatter, and poor surface finish
Preventing those failures starts with the standards built into every batch. Manufacturing to ISO 513 and ANSI B212.4 grade standards isn't optional for a serious tooling supplier. It's the baseline that keeps insert-to-insert performance predictable. A machinist troubleshooting chatter or short tool life should check batch consistency before assuming the machine setup is at fault.
Key Factors That Affect Carbide Insert Quality and Performance
Not every carbide insert is built for the same job. Four variables explain most of the performance difference between grades that otherwise look identical on a shelf:
| Factor | Effect on Performance | Typical Range |
|---|---|---|
| Grain size and distribution | Finer WC grains raise hardness; coarser grains raise toughness | Sub-micron for finishing; 1-5 micron for interrupted cuts |
| Cobalt binder content | More cobalt increases toughness but lowers hardness | 10-20% for roughing grades; 3-6% for hardened-steel finishing |
| Sintering temperature and time | Errors cause porosity, cracking, or abnormal grain growth | Defects often surface as chipping months after receiving inspection |
| Grinding precision and coating selection | Determines final edge sharpness and wear resistance | Coating must match the material and cutting application |
Coating selection carries extra weight because it's the last variable applied before a tool goes into service. Surface Solutions and similar providers apply PVD coatings such as TiN, AlTiN, CrN, and TiCN, each suited to different hardness, heat, and wear requirements.
None of these factors work in isolation. A perfectly sintered insert with the wrong coating still underperforms, so coating choice deserves the same scrutiny as grain size or binder content.
Common Misconceptions and When Standard Carbide May Not Be Enough
"All carbide is the same" is one of the most expensive assumptions in a machine shop. Two inserts can share the same shape code and still perform completely differently once grain size, cobalt ratio, and coating are accounted for.
A second misconception: a coated insert is automatically optimized for the job. Coating type and thickness have to match the material being cut or formed, not just exist. TiN works as a broad, cost-effective baseline, but it isn't the right call everywhere.
Two real-world comparisons make the point:
| Application | Coating | Result |
|---|---|---|
| Stainless steel drawing | Alpha™ | 15 parts before overheating |
| Stainless steel drawing | CrN | 500+ parts, stayed only warm to the touch |
| Galvanized steel punching | TiN | Built up material much faster |
| Galvanized steel punching | Alpha™ (M4 punches) | 15+ months, ~15 million parts, minimal build-up |

When off-the-shelf inserts wear out faster than expected, or don't survive high-heat, high-friction work, the coating is usually mismatched to the job rather than the base insert being the problem.
A specialized coating provider adds real value here, matching coating chemistry, whether TiN, AlTiN, CrN, TiCN, or a proprietary option like Alpha™, to the actual failure mode instead of defaulting to whatever the OEM shipped. Surface Solutions handles exactly this kind of application-specific matching through custom requests for quotes.
Frequently Asked Questions
How are carbide tools manufactured?
Manufacturers make carbide tools through powder metallurgy: they mill tungsten carbide and cobalt powder together, press the mix into a shaped blank, then sinter it at high heat to fuse it into a solid mass. They grind the blank to final dimensions and often coat it before shipping.
Why is carbide so expensive?
Tungsten supply is concentrated: China accounted for roughly 81% of 2023 world mine production, according to the USGS 2024 Mineral Commodity Summary. Add energy-intensive refining, precision grinding, and coating processes, and costs stack up fast.
What's the difference between a carbide insert and a solid carbide tool?
An insert is a replaceable cutting tip clamped into a reusable steel holder; once its edges wear out, you index or replace it. Manufacturers machine a solid carbide tool, like an end mill, from one solid piece of carbide.
How long does it take to manufacture a carbide insert?
A full production cycle, including milling, pressing, sintering, grinding, and coating, typically spans two days or more, depending on batch size and grade complexity. Milling alone can take 8 to 55 hours depending on the recipe.
Can carbide inserts be recoated after manufacturing?
Yes. Worn inserts can often be recoated with PVD coatings to restore or extend performance, provided the surface is properly prepped beforehand. Surface Solutions offers this service for tools nearing end-of-life, applying coatings like AlTiN or Alpha™ to customer-supplied inserts.
What determines the quality of a finished carbide insert?
Consistent grain size, correct cobalt ratio, tightly controlled sintering, precise grinding, and the right coating for the application all combine to determine final quality. Skipping or rushing any one of these shows up as premature wear on the shop floor.