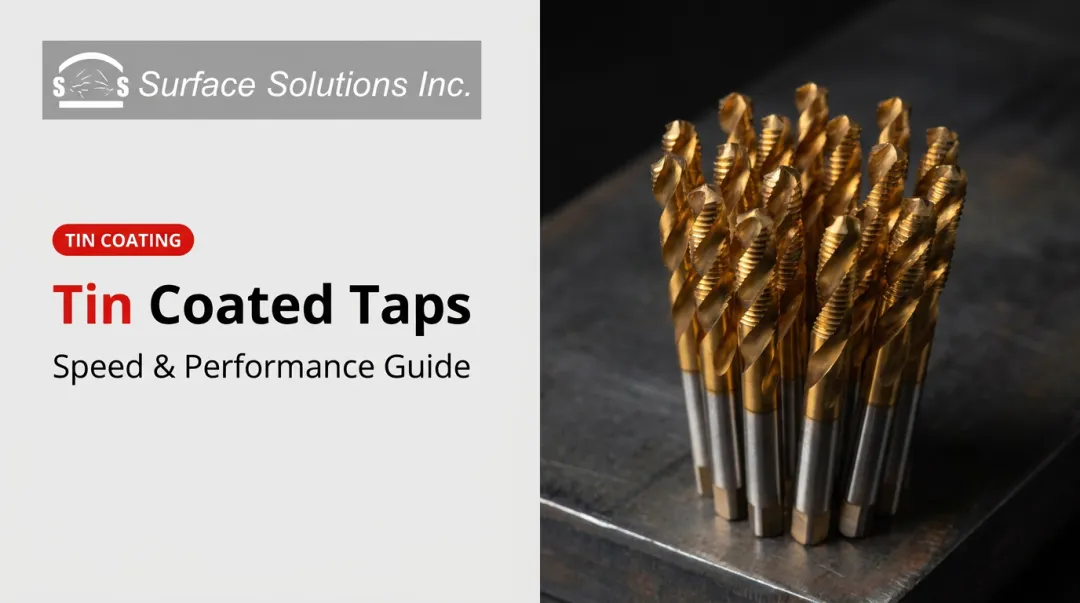
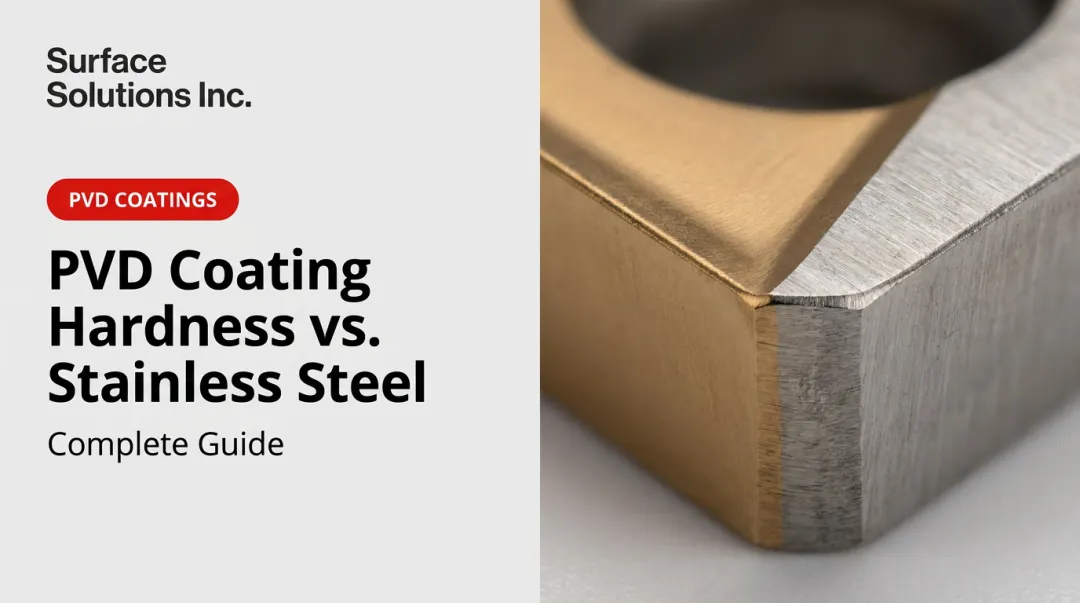
This guide covers practical testing methods for both thin tin coatings and bulk tin materials, equipment requirements, substrate-influence management, and the most common errors that invalidate measurements. Whether you're verifying coating specifications on medical instruments, checking solder alloy properties, or testing wear-resistant tool coatings, understanding these distinctions ensures accurate, actionable results.
Key Takeaways
- Match the method to the form: Vickers/Knoop for thin coatings, Brinell for soft bulk tin, Rockwell for tin bronzes
- Pure tin is ~3.9 HB; PVD TiN coatings hit 2300 ± 300 HV0.05—about 500× harder, so test setups must differ
- Keep indentation depth under 10% of coating thickness to limit (not erase) substrate influence
- Avoid overloading thin coatings, Rockwell on pure tin, and hardness comparisons without test conditions
What You Need to Check Tin Hardness
What You Need for Tin Hardness Testing
Testing requirements differ between thin tin coatings (PVD TiN, electroplated tin) and bulk tin materials (castings, alloys, sheet stock). A 3-micron TiN coating on a cutting tool requires completely different equipment and technique than a 10 mm tin solder joint or a bronze bearing bushing.
Tools and Equipment Required
For thin coatings (<25 microns):
- Micro-Vickers or Knoop hardness tester with 1-1000 gf load range per ASTM E384
- Metallographic mounting system and polishing equipment to prepare cross-sections
- Diamond pyramid indenter (136° angle) calibrated for the expected hardness range
- Optical measurement system with minimum 20-micron diagonal resolution
- Calibration blocks matched to coating hardness (typically 2000-2500 HV for TiN)
For bulk tin and soft alloys:
- Brinell hardness tester with tungsten-carbide balls (1, 2.5, 5, or 10 mm diameter)
- Load capacity appropriate for soft materials (10-500 kgf range)
- Measurement microscope or digital optical system for indentation diameter
- Flat, stable anvil to prevent sample displacement during testing
For harder tin alloys (bronze, bearing alloys):
- Rockwell hardness tester with HRB or superficial scales (HR15T, HR30T)
- 1/16" tungsten-carbide ball indenter
- V-anvil for cylindrical parts
- Thickness gauge to verify adequate material depth (minimum 10× indentation depth per ASTM E18)
Preconditions and Setup
Sample preparation for coatings:
- Mount in cross-section with metallographic resin to reveal the coating layer without substrate interference
- Polish to 0.5-1.0 micron finish using diamond suspension
- Clean with solvent to remove polishing compounds and oils
- Verify coating thickness before testing: allow 7-10× coating thickness in substrate depth to prevent backing influence
Sample preparation for bulk tin:
- Prepare a clean, flat surface free of oxides and contaminants
- For soft tin, use solvent cleaning rather than abrasive methods to avoid work-hardening the surface
- Secure sample firmly to prevent movement during indentation
- Verify minimum thickness: at least 10× expected indentation depth for Rockwell, 8-10× for Brinell per ISO 6506
Environmental conditions:
- Room temperature: 20-25°C (68-77°F) for repeatable results (tin properties vary with temperature)
- Stable mounting platform to eliminate vibration
- Adequate lighting for optical measurement systems
- For PVD TiN coatings applied at 700-800°F, allow complete cooling before testing

Methods to Test Tin Hardness
Method selection depends on three factors: material form (coating vs. bulk), composition (pure tin vs. alloy), and required accuracy. Some methods fail on soft pure tin, while others cannot measure thin coatings without substrate interference.
Vickers Micro-Hardness Testing (for Tin Coatings and Precision Measurements)
Description: Uses a diamond pyramid indenter with light loads (10-1000 gf) to create a small square indentation. Ideal for thin PVD TiN coatings, tin plating layers, and localized measurements on small features.
Tools needed:
- Micro-Vickers hardness tester with calibrated diamond indenter
- Metallographic sample mount with polished cross-section
- Optical measurement system or digital reticle
- Calculation software (formula: HV = 1.8544F/d² where F is force in kgf and d is mean diagonal in mm)
Step-by-step procedure:
- Mount and polish sample to reveal coating cross-section with 0.5 micron final finish
- Select appropriate load (typically 25-50 gf for coatings) to keep indentation depth below 10% of coating thickness
- Position indenter on coating layer, maintaining 2.5-3× diagonal distance from coating/substrate interface
- Apply load with controlled 10-15 second dwell time per ISO 6507
- Measure both diagonal lengths of square impression to 1-micron accuracy
- Calculate HV value using verified diagonal measurements
Pros:
- Extremely accurate for thin films (capable of testing 2-5 micron PVD coatings)
- Single hardness scale from very soft to very hard materials
- Small indentation size allows testing near edges and interfaces
- Direct comparison across coating types
Cons:
- Requires skilled metallographic sample preparation
- Time-intensive: each measurement takes 3-5 minutes
- Equipment cost: $15,000-$50,000+ for quality systems
- Not suitable for rough, curved, or as-received surfaces
- Substrate influence still possible even with proper loads
Typical results: PVD TiN coatings measure 2300 ± 300 HV0.05 (the 0.05 designation indicates a 50 gf test load). Electroplated tin layers typically measure 10-20 HV depending on plating conditions and thickness.

Brinell Hardness Testing (for Bulk Tin and Tin Alloys)
Description: Presses a hardened tungsten-carbide ball (typically 10 mm diameter) into the material surface under controlled load. Suitable for soft pure tin, tin-lead solder, and tin-based bearing alloys where the larger indentation averages material properties over a representative area.
Tools needed:
- Brinell hardness tester (bench or portable unit)
- Tungsten-carbide ball indenter—steel balls (HBS designation) are legacy and should not be used for modern tests
- Measurement microscope or digital optical system
- Appropriate load selection based on material and thickness
Step-by-step procedure:
- Prepare clean, flat test surface free of oxidation, oils, and contamination
- Secure sample firmly to prevent movement during loading
- Select ball size and load based on material thickness and expected hardness. For pure tin, use lower loads (10 kg with 5 mm ball, 180 second dwell)
- Apply load steadily for 10-30 seconds depending on material
- Remove load and measure diameter of circular indentation in two perpendicular directions
- Calculate Brinell hardness (HBW) using formula: HBW = 2F/[πD(D - √(D²-d²))] where F is force in kgf, D is ball diameter, and d is indentation diameter
Pros:
- Best method for soft materials where Rockwell provides poor resolution
- Larger indentation averages properties in heterogeneous alloys
- Portable units available for field testing and large components
- Well-established standards and conversion tables
Cons:
- Creates large visible indentation (typically 2-6 mm diameter), which is unacceptable on finished parts or thin materials
- Not suitable for coatings or materials thinner than 8× indentation depth
- Lower precision than micro-hardness methods
- Indentation diameter measurement requires skill and good lighting
Typical results: Pure tin measures approximately 3.9 HB (under specific 10 kg, 5 mm ball, 180 s conditions). Common tin alloys: 63Sn-37Pb eutectic solder at 14 HB, 60Sn-40Pb at 16 HB, and ASTM B23 Grade 3 tin Babbitt bearing alloy at 27 HB.

Rockwell Hardness Testing (for Harder Tin Alloys)
Description: Measures indentation depth under major load after minor preload. Scale-specific indenters and loads apply here. Rockwell B (HRB) with a 1/16" ball is common for bronze; superficial scales (HR15T, HR30T) suit thinner or softer tin alloys.
Tools needed:
- Rockwell hardness tester with appropriate scale capability
- 1/16" tungsten-carbide ball indenter for HRB and T-scales
- Flat anvil or V-anvil for cylindrical parts
- Thickness measurement tool to verify minimum 10× indentation depth
Step-by-step procedure:
- Select appropriate Rockwell scale based on anticipated hardness and material thickness (HRB for phosphor bronze, HR15T or HR30T for tin-rich alloys)
- Verify sample thickness meets minimum requirement (at least 10× expected indentation depth)
- Position sample on anvil and apply minor preload (10 kgf for regular scales, 3 kgf for superficial scales)
- Zero the indicator after minor preload seats the sample
- Apply major load (100 kgf for HRB, 15-30 kgf for superficial scales) for specified dwell time
- Release major load while maintaining minor preload
- Read hardness value directly from dial or digital display
Pros:
- Fast testing, with results in 5-10 seconds
- Direct readout requires no calculation or measurement
- Minimal sample preparation for bulk materials
- Widely standardized in industry with extensive conversion data
Cons:
- Not suitable for pure soft tin, because indentation depth exceeds practical limits
- Variable indentation depth makes substrate influence likely on thin materials
- Less precise than Vickers for research or specification work
- Requires scale selection expertise to avoid invalid measurements
Typical results: C52100 phosphor bronze (8% Sn) in OSO25 temper measures 50 HRB. Pure tin and very soft tin alloys produce invalid readings on conventional Rockwell scales; Brinell or Vickers testing is required.
How to Interpret the Results
Interpretation depends on material type, application, and the specific test method used. Always retain complete test conditions (load, dwell time, temperature, and sample condition) when recording or comparing results.
Normal/Acceptable Ranges
PVD TiN coatings: Typical specification is 2300 ± 300 HV0.05 (50 gf load). Values within this range indicate proper deposition parameters, adequate substrate preparation, and uniform coating structure. Test multiple locations across the coated surface; hardness uniformity confirms consistent deposition.
Electroplated tin: Hardness varies with plating conditions, current density, and additives. ASTM B545 covers electrodeposited tin coatings but specifies thickness and appearance rather than hardness acceptance limits. Typical electroplated tin measures 10-20 HV depending on plating bath chemistry.
Tin-lead solders: Cast 63Sn-37Pb eutectic measures 14 HB; 60Sn-40Pb measures 16 HB. These values represent as-cast condition at room temperature. Hardness correlates with joint strength and ductility. Consistent readings indicate proper alloy composition and cooling rate.
Phosphor bronze: Hardness varies widely with tin content and temper. C52100 (8% Sn) ranges from 50 HRB in annealed condition to significantly higher in cold-worked tempers. Always compare results to the specific alloy and temper specification.
Documentation: Record method, load, dwell time, indenter type, number of measurements, and environmental conditions. Compare results to the relevant standard:
- ASTM B339 for refined pig tin composition (not coating hardness)
- ASTM E10 for Brinell procedures
- ASTM E384 for microindentation testing
Out-of-Spec Results
Low coating hardness:
- PVD TiN below 2000 HV may indicate contamination during deposition, improper substrate temperature, inadequate chamber vacuum, or incorrect gas mixture
- Investigate by reviewing processing parameters, checking deposition logs, and examining coating adhesion
- Cross-sectional metallography can reveal porosity, delamination, or contamination layers
High hardness in soft tin/solder:
- Pure tin or solder measuring significantly above typical ranges suggests contamination with harder elements (lead in lead-free solder, copper pickup, iron contamination)
- High hardness reduces solderability and ductility; joints become brittle and prone to cracking
- Verify alloy composition through chemical analysis or spectroscopy
Inconsistent readings:
- Variation exceeding ±10% across multiple test points indicates material inhomogeneity, improper testing technique, or for coatings, possible delamination
- In coatings, check for substrate influence. If indentations near the coating/substrate interface read higher, reduce test load or increase distance from interface
- Verify tester calibration using certified reference blocks before conducting additional tests
- For bulk materials, inconsistency may indicate segregation during casting or non-uniform heat treatment
Investigation steps:
- Verify equipment calibration with certified reference blocks
- Inspect sample preparation for surface roughness, contamination, or mounting issues
- Review processing parameters for coatings or heat treatment for bulk alloys
- Conduct metallographic examination to check coating structure, porosity, or delamination
- Consider chemical analysis if contamination is suspected

Common Errors in Checking Tin Hardness
Tin's extreme softness (for pure material) and ultra-thin coating applications create unique testing challenges. These errors frequently invalidate measurements and lead to incorrect quality decisions.
Testing Coatings with Excessive Loads
The most common error is using loads that create indentations penetrating through the coating to the substrate. A 3-micron TiN coating tested at 500 gf will measure substrate hardness, not coating hardness.
The widely cited 10% rule—indentation depth should not exceed 10% of coating thickness—provides guidance but doesn't guarantee zero substrate influence. For a 3-micron coating, maximum depth is 0.3 microns; calculate required load using expected hardness and the Vickers depth relationship.
Even proper loads can show substrate influence if the hardness mismatch between coating and substrate is extreme or if testing too close to the interface. Per ISO 14577-4, significant substrate effects require specialized instrumented indentation procedures.
Using Rockwell on Pure Tin or Thin Coatings
Rockwell testing measures indentation depth, which for soft materials exceeds practical limits. Pure tin's 3.9 HB hardness cannot be reliably converted to Rockwell because the indentation depth would exceed the sample thickness or produce out-of-range readings.
Attempting Rockwell testing on tin coatings under 25 microns always penetrates to the substrate. Use Brinell with appropriate low loads for bulk soft tin, or Vickers/Knoop micro-hardness for coatings and precision measurements.
Ignoring Substrate Influence
Even when following the 10% rule, hard substrates affect coating measurements. Testing a 2000 HV TiN coating on 800 HV tool steel will show some substrate contribution, particularly near the coating/substrate interface.
Best practice: test coating cross-sections and maintain distance from the interface of at least 2.5× the indentation diagonal dimension (the standard edge-clearance rule from Vickers testing).
For very thin coatings (<5 microns), surface testing inherently includes substrate contribution. Cross-sectional testing or instrumented indentation per ISO 14577-4 is required for accurate coating-only measurements.
Surface Preparation Errors
Inadequate polishing leaves scratches that affect indentation geometry. For soft tin, aggressive grinding or polishing work-hardens the surface layer, producing falsely high readings.
Always use final polishing steps with 0.5-1.0 micron diamond suspension and minimal pressure. Clean thoroughly with solvent to remove polishing compounds, oils, and oxidation.
Comparing Values Without Test Conditions
Recording "tin hardness = 15" without specifying Brinell vs. Vickers, load, ball size, and dwell time makes the number meaningless. A 5 mm ball at 10 kg with 180 s dwell produces different results than a 10 mm ball at 500 kg with 30 s dwell, even on identical material.
Always document complete test parameters for valid comparisons.

Safety and Best Practices
Equipment calibration: Verify the hardness tester with certified reference blocks in the testing range before each session and after any maintenance. ASTM E18 practice calls for daily Rockwell checks; use the same discipline on Vickers and Brinell systems.
- Use at least two blocks per session, covering each scale you will run
- Record results and keep logs to match your quality system
Sample handling safety: Wear safety glasses when handling samples and running the tester. Secure every sample so it cannot shift under load. Movement can ruin diamond indenters ($500–$2,000 to replace) or eject the part.
Match fixtures, clamps, or mounts to the sample geometry before you start the test.
Metallographic preparation hazards: Grind and polish tin only with adequate ventilation. Metallic tin dust is an inhalation hazard (NIOSH REL and OSHA PEL: 2 mg/m³ TWA).
- Connect dust collection to grinders and polishers per OSHA 29 CFR 1910.94
- Treat mounting resins and polishing compounds as lab chemicals under OSHA 1910.1450
- Review chemical hygiene protocols at least once a year
Surface cleaning: Remove oils, oxides, and other contaminants before testing. On soft tin, use solvents such as isopropyl alcohol or acetone instead of abrasives so you do not work-harden the surface. Let the surface dry fully before you indent.
Result documentation: Keep a complete record of each test. Photograph indentations when you can for later review.
- Material ID, method, equipment ID, and calibration status
- Operator, date, environment, and full test parameters
- For coatings: thickness, substrate, and distance from edges and interfaces
Conclusion
Accurate tin hardness testing depends on matching the test method to material form:
- Micro-Vickers or Knoop for thin PVD coatings when substrate influence must be controlled
- Brinell for bulk soft tin and tin-lead solders, where larger indentations average material properties
- Rockwell only for harder tin alloys like phosphor bronze
Technique matters as much as method choice. Correct load selection prevents substrate interference in coatings. Metallographic cross-sections support accurate thin-film measurements, and full documentation of test conditions keeps comparisons valid.
The 500× hardness gap between pure tin at 3.9 HB and PVD TiN coatings at 2300 HV shows why one approach cannot cover every tin material. These results guide decisions on coating performance and adhesion, alloy mechanical properties, solderability, and material acceptability for medical instruments, precision tooling, and other demanding applications.
Frequently Asked Questions
What is the hardness of tin?
Pure tin measures about 3.9 HB (10 kg load, 5 mm ball, 180 s dwell). Values vary widely elsewhere: tin-lead solder is ~14 HB, phosphor bronze with 8% tin starts around 50 HRB, and PVD TiN coatings reach 2300 ± 300 HV. Always specify pure tin, a tin alloy, or titanium nitride coating.
What are the top 3 hardest metals?
The hardest elemental metals include osmium (Mohs 7.0) and iridium (Mohs 6.5), both far harder than pure tin. Tin is valued for corrosion resistance, low melting point, and ductility, not hardness. For wear protection on tools, PVD TiN (titanium nitride) coatings deliver hardness in the tool-steel range.
How do you test TIN coating hardness on tools?
Use Vickers or Knoop micro-hardness testing at 10–50 gf, preferably on polished cross-sections so the substrate does not skew results. Keep indentation depth under 10% of coating thickness (about 0.3 microns on a 3-micron coat). Typical TiN hardness is 2300 ± 300 HV0.05.
What's the difference between testing bulk tin versus tin coatings?
Bulk tin and tin alloys use Brinell or Rockwell with larger loads (10–500 kgf) and only need a clean, flat surface. Coatings under 25 microns need micro-hardness testing at 10–100 gf so the indent does not reach the substrate. Coatings usually require cross-sectional mounting and polishing; bulk samples do not.
Can you use Rockwell testing on pure tin?
Rockwell is generally unsuitable for pure tin: at 3.9 HB it sits far below common Rockwell scales and resolution is poor in the soft range. Use low-load Brinell (10–100 kgf) or Vickers micro-hardness instead. Harder tin alloys such as phosphor bronze can use HRB or superficial scales (HR15T, HR30T).