For manufacturing, tooling, and metal forming professionals, this isn't just technical trivia. What happens during those process steps directly determines tool life, part output, and how often your line stops for maintenance.
PVD gets referenced constantly on datasheets and quotes, but rarely explained at the operational level. This article walks through the process diagram step-by-step, compares the two dominant techniques, and shows where PVD fits into a real manufacturing workflow.
TL;DR
- PVD vaporizes a solid metal target in vacuum, depositing a thin, hard film on tools and parts
- Five stages: cleaning, loading/vacuum, heating/vaporization, deposition, and cooling/inspection
- Cathodic arc and magnetron sputtering differ in ionization, density, and surface smoothness
- Process knowledge lets buyers judge coating quality and compare vendor capability
- Alpha™ and CrN coatings can multiply tool life and cut downtime in metal forming and cutting
What Is the PVD Coating Process?
PVD is a vacuum coating process that converts a solid target material into vapor, then condenses it onto a substrate as a thin film (typically 1–5 microns thick). The result is a hard, wear- and corrosion-resistant surface layer that outperforms the base metal without meaningfully changing part dimensions.
That thinness matters. A coating of 0.0001–0.0002 inches won't fix a poorly finished surface or alter fit-up on precision components, but it also won't throw off tight tolerances the way thicker coatings might.
How PVD compares to other coating methods:
- CVD (Chemical Vapor Deposition): Relies on chemical reactions, typically running at temperatures near 1,000°C
- Electroplating: An electrochemical, wet process using electrical current to deposit metal
- PVD: Runs cooler, commonly in the 300–930°F (150–500°C) range, with some production processes around 800°F — viable for precision tooling that can't take high heat
Why the PVD Coating Process Is Used in Tool Manufacturing and Metal Forming
Punches, dies, and cutting tools take a beating from abrasive wear, galling, and heat buildup during high-volume runs. Metal forming and cutting operations need consistent tolerances, low friction, minimal lubricant, and long stretches between maintenance stops.
Without a hard coating, the failure pattern is predictable:
- Frequent resharpening interrupts production
- Galvanized material builds up on punch faces
- Cutting edges chip prematurely
- Tools get replaced well before their expected life
PVD hard coatings reverse that pattern.
Real-world example: One high-volume stamping customer ran M4 punches with Alpha™ coating for more than 15 months, producing an estimated 15 million parts while punching 0.057-inch galvanized steel. Previously, uncoated D2 punches needed sharpening every three weeks.
Another customer, Don Richardson, completed a full 60,000-part order without resharpening — compared to a normal 10,000-part resharpening interval. That's 6x more parts before maintenance, saving an estimated 48 labor hours across the avoided sharpening cycles.

Manufacturers choose PVD because uncoated tools cost more in downtime and scrap than the coating itself.
How the PVD Coating Process Works (Conceptual Flow)
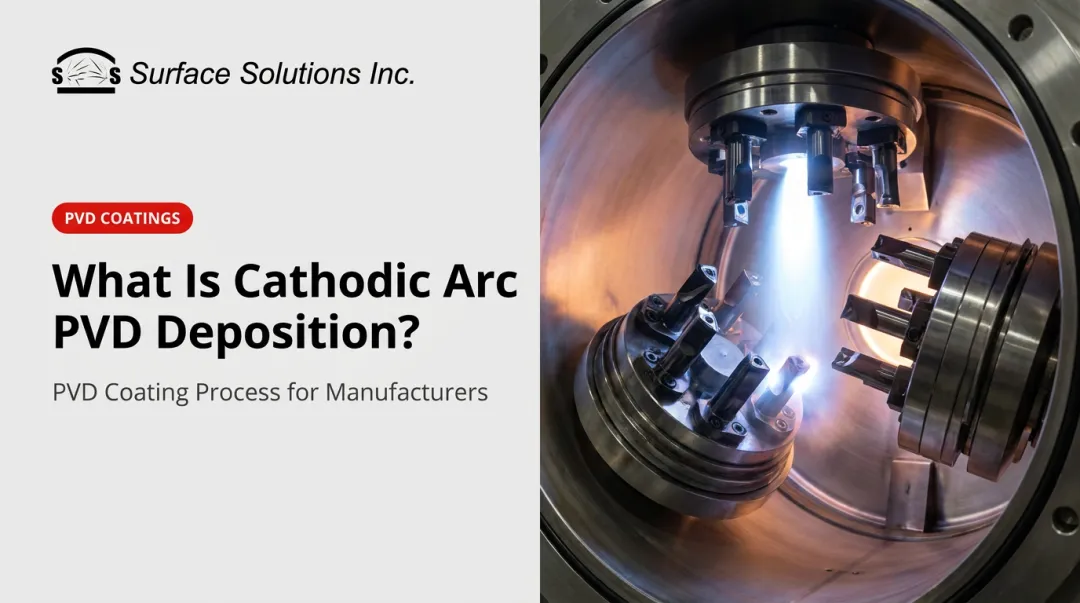
In short, a solid target material vaporizes inside a vacuum chamber. That vapor travels to the substrate and condenses there, building a thin film one atomic layer at a time.
What goes into the chamber:
- Cleaned tools or parts
- A solid target (titanium, chromium, or an aluminum-titanium alloy)
- Reactive gases like nitrogen, when forming nitride compounds
An electrical bias ionizes energized target atoms and drives them toward the substrate. Vacuum pressure, bias voltage, temperature, and gas flow rate stay under tight control throughout, and each variable affects final hardness, density, and adhesion.
Step 1: Surface Preparation and Cleaning
Every part is cleaned and inspected before it enters the chamber. Oils, dust, and residue left on the surface weaken adhesion, no matter how well the deposition itself goes. Oxides, EDM recast layers, and old bluing must come off first—PVD's thin film can't mask an unsuitable surface.
Step 2: Loading and Vacuum Pump-Down
Fixturing positions tools for even exposure to the vapor stream, then the chamber pumps down to high vacuum. Removing air molecules matters because they'd otherwise disrupt the vapor's path to the substrate.
Step 3: Heating and Target Vaporization
The target material vaporizes via cathodic arc or sputtering. If a nitride or carbide coating is the goal, reactive gases enter at this stage and react with the vaporized metal.
Step 4: Coating Deposition
Ionized vapor travels toward the negatively biased substrate and bonds atom-by-atom, building the film at a controlled rate. This stage sets thickness and uniformity.
Step 5: Cooling, Venting, and Quality Inspection
Parts cool gradually to avoid micro-cracking. Thickness verification, adhesion testing, and visual inspection follow before parts ship back out.

Key PVD Techniques: Cathodic Arc vs. Magnetron Sputtering
Two techniques dominate industrial PVD: cathodic arc and magnetron sputtering. The choice between them shapes adhesion, finish, and deposition speed.
| Factor | Cathodic Arc | Magnetron Sputtering |
|---|---|---|
| Ionization | High | Lower |
| Deposition rate | Faster | Slower |
| Adhesion | Strong | Strong |
| Surface finish | Rougher; may include macroparticles | Smoother, more controlled |
| Bias control | Strong | Less precise |
A 2024 peer-reviewed comparison of Ti and Cr films deposited by both methods on stainless steel found that arc evaporation's high ionization and rate come with a trade-off. Target melting can eject microparticles that roughen the finished coating.
Sputtering, by contrast, produced more homogeneous films without that arc-droplet effect.
Neither technique is universally better. Favor cathodic arc when deposition rate and high ionization matter most; choose magnetron sputtering when you need a smoother, more controlled surface finish.

Where the PVD Coating Process Is Applied in Manufacturing
PVD is applied across tooling and components such as:
- Cutting tools and carbide inserts
- Stamping and forming dies
- Punches
- Medical instruments
- Precision machine components
It typically enters the workflow at three points: new tool production, scheduled maintenance or resharpening cycles, or after tool refurbishment.
Common triggers for recoating:
- Rising scrap rates
- Excessive lubricant consumption
- Visible wear or coating loss
- Need for higher throughput without buying new tooling
One documented case: M4 punches with Alpha coating ran continuously at one stroke per second, 8–16 hours a day, for over 15 months before wear became visible. At that point, the worn parts got pulled, sharpened, and sent back for recoating — while spare coated parts kept the line running.
PVD recoating is a recurring, condition-based service tied to wear cycles, not a one-time purchase. Surface Solutions serves manufacturers across the Upper Midwest and nationwide, with turnaround built around production schedules rather than a fixed calendar.
Common Issues, Misconceptions, and When PVD May Not Be the Right Fit
Knowing the process steps is useful. Knowing where the process falls short keeps you from specifying PVD for the wrong job.
Misconception #1: Thicker coating means better performance. Coating chemistry and adhesion matter just as much as thickness. A well-adhered 2-micron coating outperforms a poorly bonded thicker one every time.
Misconception #2: Hardness equals wear resistance. These properties are related, not identical. A 2024/2025 coining-die study found TiN averaged higher hardness than CrN. CrN-coated dies still produced 1,302,991 coins versus 952,573 for TiN on hot-work steel. Adhesion, toughness, and substrate support all factor into real-world wear performance.

Where PVD struggles:
- Parts requiring coatings thicker than a few microns
- Complex geometries outside the target’s line of sight
- Deep recesses or shielded surfaces that need rotation fixturing for even coverage
Watch for over-application: If a tool keeps failing after coating, the problem may not be the coating at all. Dimensional or design flaws in the base tool won't get solved by a surface treatment. PVD extends the life of a sound tool; it doesn't fix a flawed one.
Conclusion
PVD coating is a controlled, multi-step vacuum process: a solid target gets vaporized and rebuilt into a durable thin film on a tool's surface, one atomic layer at a time. Understanding each step (cleaning, vacuum loading, vaporization, deposition, cooling, and inspection) gives manufacturers a realistic basis for evaluating coating quality instead of just trusting a datasheet.
Technique and chemistry shape the result. Choosing the right coating, such as Alpha™ for high-volume forming or CrN for corrosion-prone applications, matters more than assuming any PVD coating delivers identical results.
Frequently Asked Questions
What are the main steps of the PVD coating process?
The five core steps are cleaning, loading and vacuum pump-down, heating and target vaporization, coating deposition, and cooling with quality inspection. Each step affects final adhesion and coating performance.
How long does the PVD coating process take?
Cycle times vary by chamber size, coating thickness, and technique used. Total turnaround including prep and quality control commonly ranges from a few hours to several days.
What is the difference between cathodic arc and sputtering PVD?
Cathodic arc offers higher ionization and faster deposition but can produce a rougher surface from microparticles. Magnetron sputtering runs slower but typically yields a smoother, more homogeneous film.
Can PVD coating be applied to previously used or worn tools?
Often, yes. Worn tools can be stripped, reground, and recoated if the base geometry and dimensions still fall within tolerance. Underlying cracks or dimensional damage won't be fixed by recoating, though.
How thick is a typical PVD coating?
Typical PVD coatings run 2-5 microns thick (about 0.0001-0.0002 inches). That's thin enough to preserve tight tolerances on precision tooling.
Does PVD coating affect the color or appearance of a part?
Yes. Different target materials and reactive gases produce distinct colors — gold for TiN, silver-gray for CrN, among others — alongside the functional wear and corrosion benefits.