For machine shops, manufacturing engineers, and procurement teams, this process matters more than most people realize. Tool life, part quality, and production costs all trace back to decisions made long before a tool ever touches a workpiece.
Most guides on cutting tools stop at describing types, end mills versus drills versus inserts, without explaining how any of them actually get made. This article breaks down the real manufacturing flow: the materials, the machines, and the specific factors that separate a tool that lasts 10,000 parts from one that lasts 60,000.
Key Takeaways
- Material choice (carbide, HSS, ceramics, PCD) depends on hardness, toughness, and heat tolerance
- Manufacturing spans material prep, shaping, heat treatment, grinding, edge prep, coating, and inspection
- PVD coatings like TiN, AlTiN, CrN, and Alpha™ multiply parts-per-tool output before resharpening
- CMMs and optical inspection confirm tolerances before tools ever leave the shop
- Standard tooling still beats premium tooling for low-volume or loose-tolerance jobs
What Are High-Precision Cutting Tools?
High-precision cutting tools are engineered to remove material with extremely tight tolerances, consistent geometry, and repeatable performance, run after run, part after part.
The goal isn't just accuracy on the first part. It's:
- Consistent part dimensions across thousands of cycles
- Extended tool life between sharpenings
- Reduced scrap from out-of-spec parts
- Predictable cycle times that keep production schedules on track
What separates these from standard, off-the-shelf tooling? A few things:
- Tighter manufacturing tolerances built into the grinding process itself
- Specialized grinding operations, including multi-axis and in-process measurement
- Custom geometries or coatings matched to a specific job, not a general catalog spec
This applies across tool families: end mills, drills, inserts, reamers, and taps. The core manufacturing principles (material selection, heat treatment, grinding, coating) hold steady across all of them, even though the specific geometry changes.
There's no single industry-wide number separating "precision" from "standard" tolerance ranges. Precision gets defined project by project, through documented requirements for diameter, runout, edge geometry, and surface finish. Even the coatings applied afterward operate at this scale: PVD layers typically measure 2 to 5 microns thick, thin enough to preserve the ground geometry underneath while still transforming the surface.
How High-Precision Cutting Tools Are Made (Step-by-Step)
The process transforms raw hard-metal powder or bar stock into a finished cutting edge through six stages: material prep, shaping, heat treatment, precision grinding, coating, and inspection. Quality checks happen at every stage, not just at the end.
Dimensional control comes from CNC grinding machines, jigs, and in-process measurement, not manual finishing. A skilled machinist's eye catches obvious defects, but holding single-digit micron tolerances requires machine-driven feedback loops that measure and correct in real time.

Step 1: Material and Blank Preparation
Everything starts with raw material selection:
- Tungsten carbide powder, mixed with cobalt binder, for carbide tools
- HSS billets, pre-alloyed tool steel, for HSS tools
- PCD blanks, diamond particles sintered onto a carbide substrate, for diamond tooling
Carbide powder gets mixed with binder, then pressed into blanks or rods under significant force. HSS arrives as bar stock and gets cut to length before any shaping begins.
Step 2: Shaping and Sintering/Pre-Machining
Carbide blanks are sintered, heated under pressure until the powder fuses into a solid, dense material.
Sandvik's documented insert manufacturing process applies roughly 12 tons of pressing force, then sinters the compact at approximately 1,500°C for about 13 hours. The part shrinks by roughly 50% as the powder consolidates into cemented carbide.
HSS tools follow a different route. Machinists rough-machine the blanks into an approximate tool shape, stress-relieve them, then semi-finish machine them. This retained machining allowance matters: it leaves enough material for grinding to final size after hardening.
Step 3: Heat Treatment
Heat treatment is where hardness gets built in.
For HSS tools, this typically means:
- Quenching to form a hard martensite structure
- Immediate tempering, often across multiple cycles, to relieve internal stress
- Careful temperature control, since uneven quenching can cause distortion or cracking
Uddeholm's heat-treatment guide recommends three tempering cycles for high-carbon HSS grades to reach usable hardness without excessive brittleness.
Carbide tools skip separate quenching since hardness comes from sintering itself, though some receive additional surface treatments like nitriding or case hardening to boost wear resistance without changing the tool's core toughness.
Step 4: Precision Grinding and Edge Geometry
This is where the tool takes its final shape. CNC grinding machines cut flutes, relief angles, and cutting edges to single-digit micron tolerances. This step defines actual cutting performance: rake angle, helix, and edge sharpness all get set here.
Modern grinding isn't a one-pass operation. In-process laser measurement checks geometry as it's ground, then applies automatic offsets or triggers wheel dressing when wear is detected, a workflow that SME's review of precision grinding strategies documents in detail.
Coolant flow and temperature get tightly controlled too, since poor coolant control shows up directly as surface finish defects.
Step 5: Surface Coating
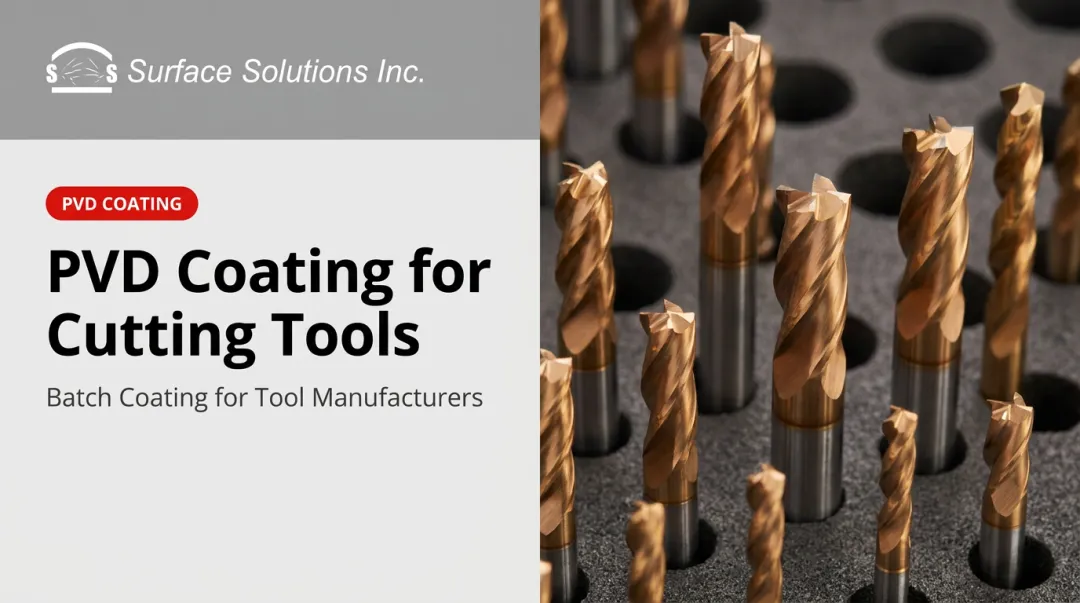
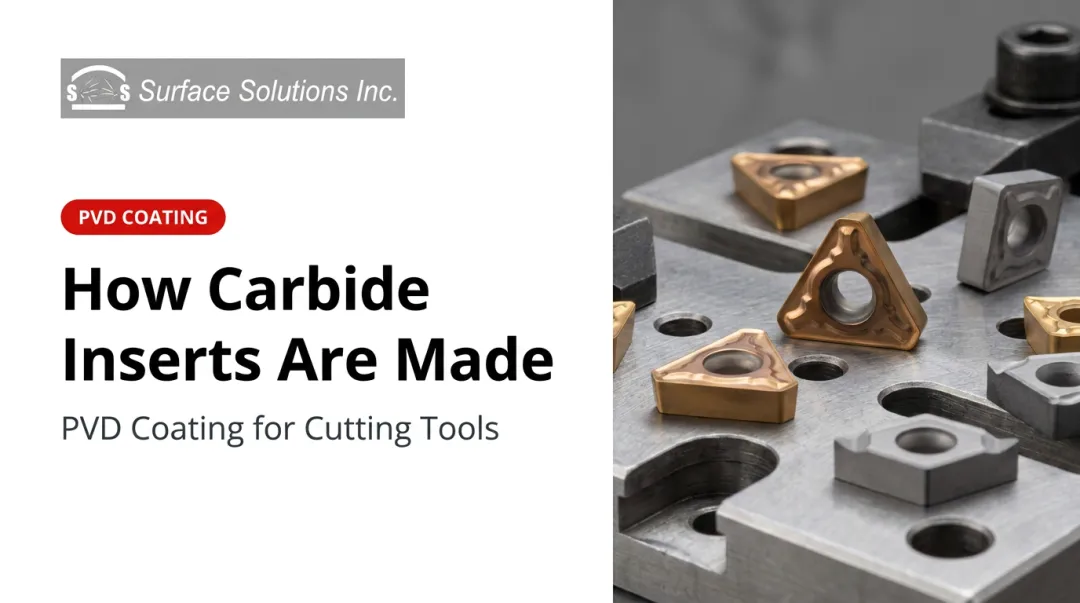
Manufacturers coat most finished tools before they ship. Physical Vapor Deposition (PVD) is the standard method, adding a hard, low-friction layer over the ground substrate.
At Surface Solutions, PVD coatings like TiN, AlTiN, CrN, and the proprietary Alpha™ coating get applied at deposition temperatures around 700°F to 800°F, in layers just 0.0001" to 0.0002" thick (roughly 2 to 5 microns).
That's thin enough to preserve the ground geometry underneath while still cutting friction, heat, and built-up edge.
The performance difference is measurable. One customer running Alpha™-coated press tooling went from resharpening every 10,000 parts to running a full 60,000-part order without needing to sharpen at all, a 6x improvement that saved roughly 48 hours of labor on that single run.
Step 6: Inspection and Quality Control
Before any tool ships, it gets checked against its blueprint. Standard methods include:
- Coordinate measuring machines (CMMs) for dimensional accuracy
- Optical comparators for geometry and edge condition
- Surface profilometers for finish quality
Batch-level verification, not just spot-checking finished parts, is what keeps precision consistent across thousands of identical tools. Documented carbide production examples include microscopic sampling from each batch, with individual parts compared against blueprint and order specs before release.
Materials and Coatings That Determine Precision and Tool Life
Choosing the Right Substrate
- Tungsten carbide (cemented carbide): the most common precision tool material, with metal-cutting grades running over 80% WC hard phase. Fine grain raises hardness; more binder adds toughness but increases deformation risk under heat.
- HSS: a lower-cost alternative, tougher than carbide and more tolerant of shock loads and interrupted cuts, though it loses hardness faster at high speed and temperature.
- Ceramic: holds up at very high cutting speeds but is brittle, limiting it to specific applications.
- PCD: offers the highest abrasion resistance of the group, ideal for non-ferrous and abrasive materials, but chemically unstable at high heat.

How Coatings Extend Tool Life
Once ground, most tools get a PVD coating that resists wear, heat, and galling at the cutting surface.
| Coating | Best Suited For | Reported Performance Edge |
|---|---|---|
| TiN | General-purpose baseline | Reference point for comparison |
| AlTiN | High-speed, high-heat cutting | Up to 6x tool life vs. uncoated TiN in a 304 stainless insert test |
| Alpha™ | Forming, stamping, punching | 15+ months (est. 15 million parts) vs. 3-week sharpening cycles uncoated |
| CrN | High-heat drawing, corrosion resistance | Over 500 parts vs. 15 parts in a stainless drawing test |
| TiCN | Abrasive wear resistance | Among the highest hardness ratings of common PVD coatings |
Surface Solutions applies these coatings as a dedicated PVD service rather than selling tools, and has tracked results like these directly from customer production runs. A 3-corner carbide insert machining 304 stainless steel showed AlTiN delivering 3x the tool life of Alpha™, which itself doubled TiN's baseline, a combined 6x improvement without changing speeds or feeds.
At roughly $2.50 to $4.00 per tool for AlTiN, the economics favor coating almost any tool running in production volume.
Where These Tools Are Used and What Affects Their Precision
Common Applications
- CNC machining centers producing precision components at scale
- Automotive and aerospace part production, where tolerances and material specs are strict
- Medical device manufacturing, where traceability and biocompatibility add extra requirements
- Metal forming, punching, and stamping dies running high-cycle production
- Tool resharpening and reconditioning services that restore worn tooling rather than replace it
Precision tools get specified during initial tooling design, then re-specified whenever tolerances, materials, or cycle-time targets change. How tightly a shop holds those specs also depends on raw material quality, grinding equipment condition, and post-grinding treatments such as PVD coatings that harden the surface and slow wear over time.
Key Factors Affecting Manufacturing Precision
- Raw material purity and grain structure: finer, more consistent tungsten carbide (WC) grain produces harder, more predictable material
- Grinding wheel quality, machine rigidity, and coolant control: a worn wheel or unstable machine shows up as tolerance drift and poor surface finish
- Batch size and production volume: small runs often get ground individually; high-volume runs move to automated grinding cells
- Regulatory requirements: medical device work typically demands tighter certification, documented traceability, and process validation that general industrial tooling doesn't require

Common Misconceptions and When Standard Tooling Is Enough
"Carbide" and "coated" don't automatically mean high precision. Substrate quality and coating quality are separate variables: a cheap carbide blank with a premium coating is still a cheap carbide blank.
Hardness isn't the same as toughness either. A harder tool resists wear better but can chip or fracture under shock loads or interrupted cuts. Applications with vibration or intermittent contact often need a tougher tool, not necessarily the hardest one available.
Ultra-precision tooling isn't always worth the premium. Skip it for:
- Low-volume runs where extended tool life beyond a few hundred parts doesn't matter
- Loose-tolerance parts where standard grinding specs already meet the print
- Short-lifecycle prototype work where the design will change before wear becomes an issue
Understanding how these tools are actually built gives buyers a better basis for deciding where to spend. Sometimes that means premium tooling with a hard coating. Sometimes it means a standard tool paired with a smarter resharpening and recoating schedule—working with a PVD coating service like Surface Solutions can extend a standard tool's life without paying a premium upfront.
Frequently Asked Questions
How are cutting tools manufactured?
Manufacturing runs through material selection, shaping or sintering, heat treatment, precision grinding, coating, and inspection. Each stage builds toward the final tolerance and surface finish the application requires.
What is the most common cutting tool used in manufacturing?
Carbide end mills and inserts are among the most widely used, thanks to their balance of hardness, cost, and versatility across metals. They handle a broad range of speeds and materials without needing a specialty substrate.
What is the difference between carbide and HSS cutting tools?
Carbide holds hardness and edge retention at higher speeds and temperatures but costs more and tolerates less shock. HSS is tougher and cheaper, better suited to interrupted cuts, but wears faster at high speed.
Why are cutting tools coated?
Coatings like PVD reduce friction and heat at the cutting edge, slowing wear and delaying resharpening. Customers running Alpha™ or AlTiN-coated tools have reported up to 6x more parts produced before resharpening, compared to uncoated tooling.
How much does precision cutting tool manufacturing cost?
Cost depends on material, geometry complexity, coating, and production volume. Custom or ultra-precision tooling carries a premium over standard catalog tools, though coating itself can run as low as $2.50 to $4.00 per tool for high-performance options like AlTiN.
Can a worn precision cutting tool be restored instead of replaced?
Yes. Resharpening restores the cutting edge geometry, while recoating reapplies a PVD layer like TiN, AlTiN, or Alpha™ to restore the wear-resistant surface. Many shops run this resharpen-and-recoat cycle repeatedly before a tool needs full replacement.