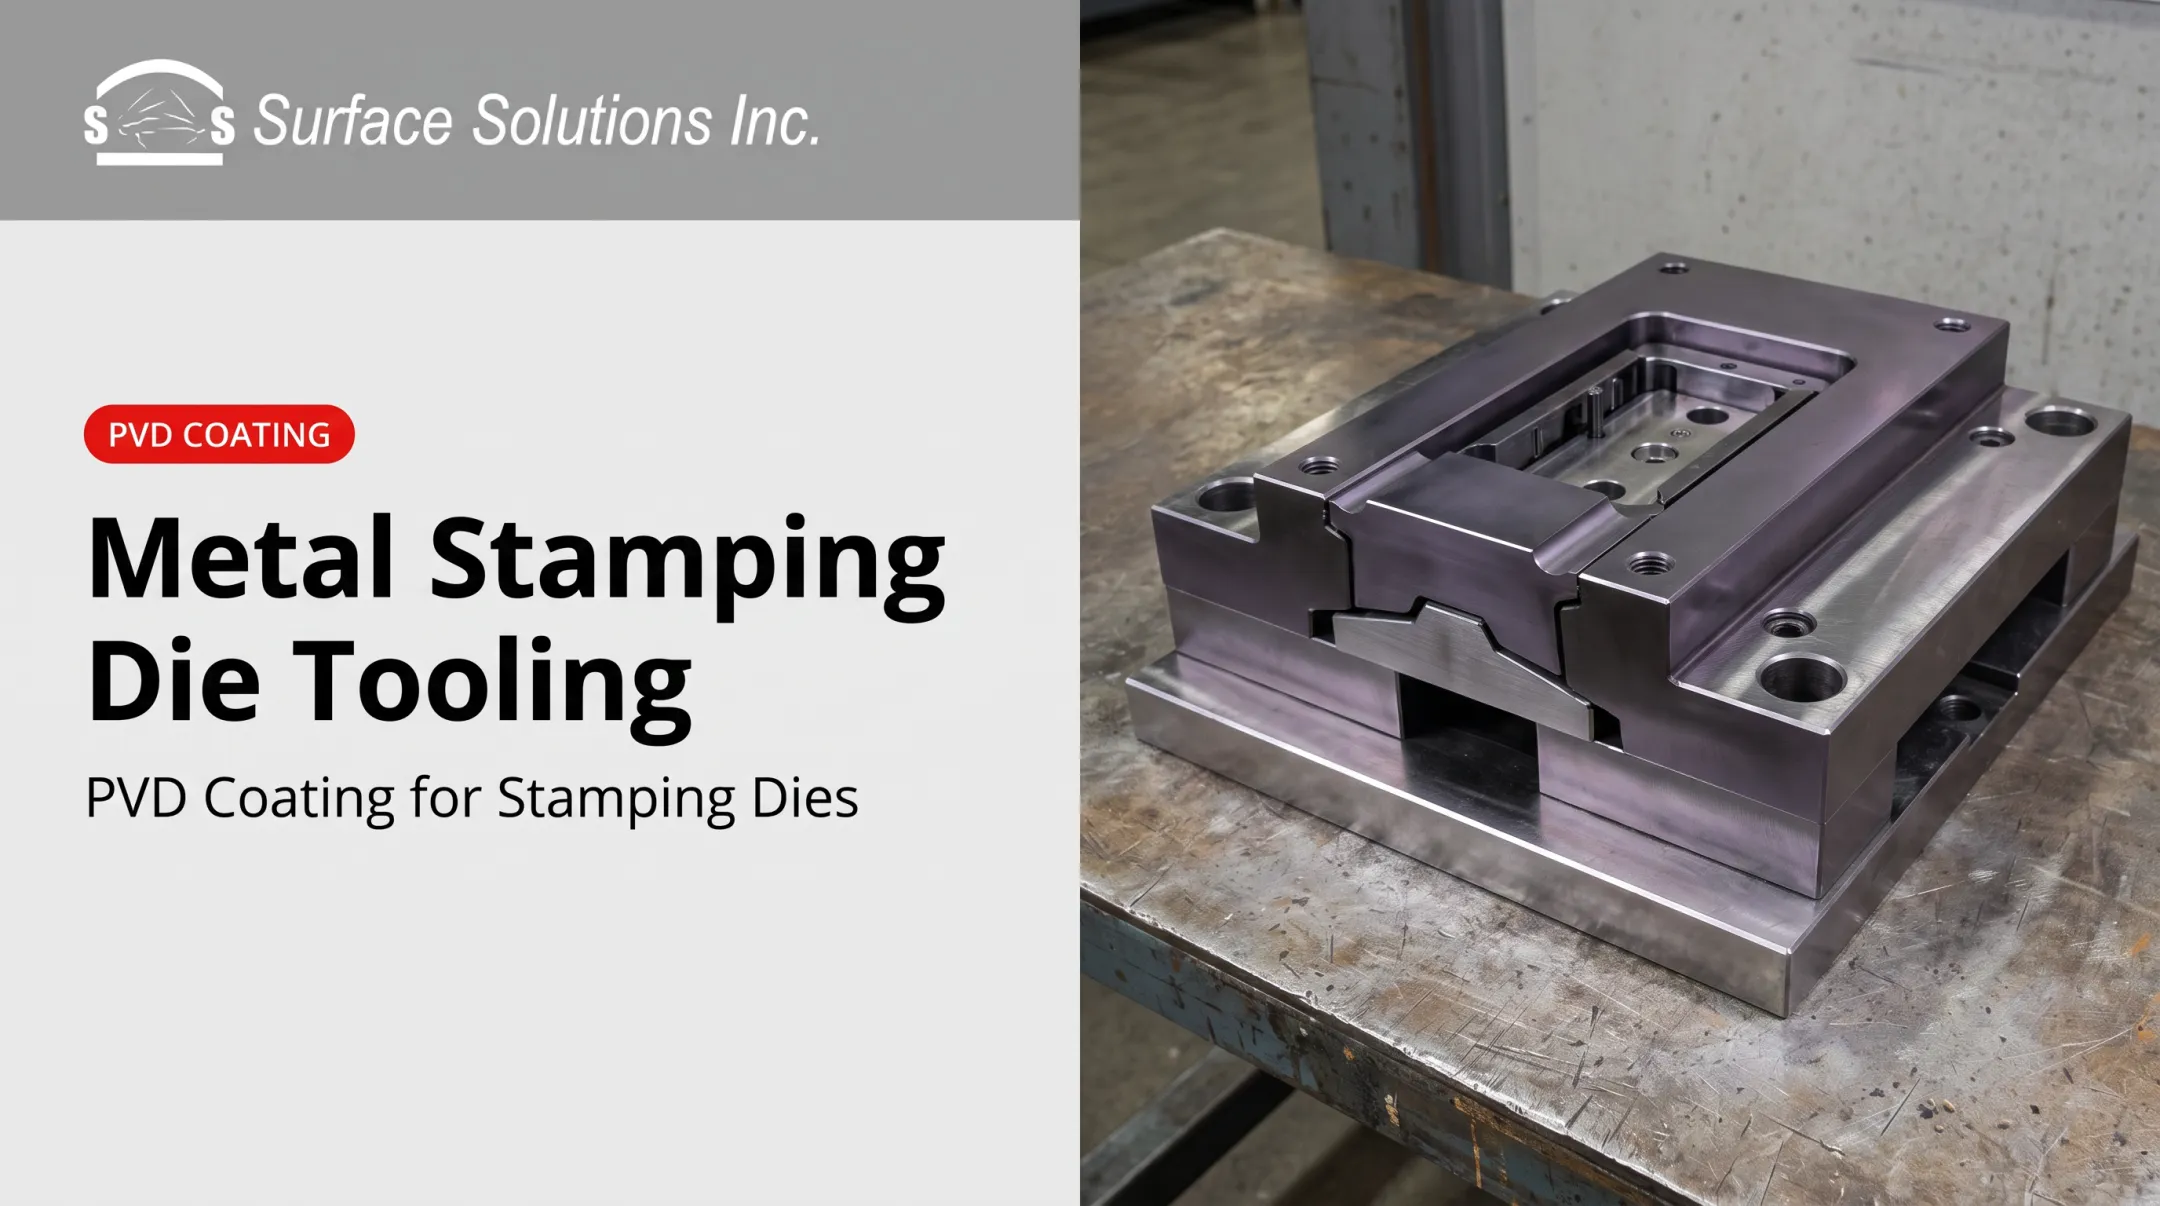
Stamping dies range from simple single-station tools to multi-station progressive dies running thousands of parts per hour. Despite that range, nearly all of them share a common set of building blocks.
This guide covers those core components, the die types they build, and how surface coatings can stretch the life of the parts that wear out fastest.
Key Takeaways
- Core stamping die parts: die plates/shoes, guide pins, punches, die buttons, springs, retainers, and stripper pads
- Single-station, progressive, and transfer dies arrange these parts differently by complexity and volume
- Punches and die buttons wear fastest, driving resharpening frequency and maintenance cost
- PVD coatings like Alpha and CrN can multiply parts produced between resharpenings
What Are the Basic Components of a Stamping Die?
A stamping die isn't one solid block of steel. It's a system of interdependent parts working together to guide, cut, form, and eject material with repeatable precision. Remove or wear out any single piece, and the whole system loses accuracy.
Structural & Alignment Components
The die set — upper and lower shoes plus guide pins — forms the skeleton everything else mounts to.
- Die plates and shoes — usually hardened tool steel; aluminum shoes appear in lighter-duty or lower-volume work where weight matters more than max wear resistance
- Guide pins and bushings — keep the upper and lower shoes aligned through each press cycle
- Heel blocks — precision-machined steel blocks (often with wear plates) that absorb side thrust during cutting and forming

Friction-style guide pins run tighter clearances against the bushing; ball-bearing pins cut wear through rolling contact instead of sliding friction. Precision-ground guides are often held to 0.0001-inch tolerances, depending on the builder's design.
Without proper alignment, punches drift off-center and cutting clearances go inconsistent — what heel blocks and guide pins prevent.
Cutting, Forming & Fastening Components
With the die set holding alignment, these parts do the cutting, forming, and part control.
- Punches and die buttons — the primary cutting pair; the gap between them (die break, or cutting clearance) sets cut quality and burr formation
- Retainers — ball-lock, shoulder, and trumpet-head styles secure punches to the shoe; ball-lock designs speed punch swaps during maintenance
- Stripper/pressure pads — spring-loaded plates that hold the strip flat and strip material off the punch on the return stroke
- Springs — coil, urethane, and nitrogen gas springs drive pads and strippers; nitrogen units pack more force in less space
- Fasteners — screws, dowels, and keys lock every component in fixed alignment stroke after stroke

Cutting edges, pads, and guides wear at different rates. Knowing which surfaces take the load tells you where coatings and maintenance pay off first.
Why Are Stamping Dies So Expensive?
Die cost comes down to three things: precision, materials, and complexity.
- Precision machining: Guide pins, bushings, and shoe surfaces require grinding and milling to tight tolerances. There's no shortcut to that labor.
- Hardened tool steel: Punches and die buttons need wear-resistant steel that costs more upfront and takes longer to machine than mild steel
- Custom engineering: Every part geometry is unique, and multi-station designs multiply the number of components and the design hours required.
Progressive-die tooling commonly runs $10,000 to $350,000, depending on part complexity and station count, according to Talan Products.
Tooling cost gets amortized over the production run. A $25,000 die works out to roughly $2.50 per part at 10,000 units, but drops to around $0.25 per part at 100,000 units. Volume is what makes stamping economical. The upfront number just looks steep in isolation.

The Three Main Types of Stamping Dies
Not every part needs the same die architecture. The right choice depends on volume, complexity, and how the part needs to move through the process.
| Die Type | How It Works | Best Suited For |
|---|---|---|
| Single-station (simple/compound) | One or a few operations per stroke; hand- or robot-loaded | Low-volume runs, large or bulky parts, simple geometries |
| Progressive | Coil strip advances through sequential stations on one die set, with the part staying attached to the carrier until final cutoff | High-volume, complex parts requiring tight tolerances |
| Transfer | Part is separated from the strip early, then moved between stations by fingers, rails, or robotic arms | Deep-drawn parts, large components, intricate geometry at volume |
Single-station dies keep tooling simple and flexible when volumes are low or parts are too bulky for strip feeding. Progressive dies dominate high-volume automotive and hardware work because the strip carrier stays intact for precise indexing. Transfer dies take over when a part needs deep drawing or is too large to remain on a strip carrier.
Steps Involved in the Die Stamping Process
Each step in the process maps directly to specific die components discussed above.
- Feeding: Coil stock advances through the die at a fixed pitch (progressive dies) or is loaded manually/robotically (single-station line dies).
- Blanking/piercing: Punches and die buttons cut the shape or holes, with the die break clearance controlling edge quality.
- Forming/bending/drawing: Punches and pressure pads shape the material according to the punch nose profile.
- Stripping/ejection: Spring-loaded stripper pads pull the strip off the punch as the tool retracts. Stripping force typically runs 10% to 20% of cutting force, plus a safety margin.
- Trimming/cutoff: Final trim operations separate the finished part from the strip.

Every one of these steps puts direct wear on the same handful of components, which brings us to the maintenance question every die shop eventually faces.
Extending Die Component Life With Surface Coatings
Punches and die buttons take the brunt of the wear. They're in direct contact with sheet metal thousands of times per shift, so galling, edge rounding, and frequent resharpening are inevitable unless you change the surface.
PVD coatings like Alpha™ and CrN create a hard, low-friction barrier on high-wear components. Results from real production floors back that up:
- One customer running Alpha-coated tooling finished a 60,000-part order without resharpening, versus a normal 10,000-part interval (6x the output between services)
- That saved roughly 48 hours of labor, with each resharpening cycle taking about 8 hours of tool removal and regrinding
- A stainless drawing job went from 15 parts too hot to touch (Alpha) to 500+ parts just warm (CrN), showing coating choice matters by application
- Alpha-coated punches on galvanized steel showed almost no galvanized build-up, versus clear buildup on TiN-coated punches on the same job

Less buildup usually means less need for heavy lubrication, which cuts cleanup time and consumable costs.
Surface Solutions applies PVD coatings, including Alpha and CrN, to punches, die buttons, and other stamping and sheet-metal-forming components for manufacturers across the U.S., helping shops cut die maintenance downtime and get more parts from every resharpening cycle.
Frequently Asked Questions
Why are stamping dies so expensive?
Die cost comes from precision machining tolerances, hardened tool steel, and custom engineering for each part geometry. Multi-station designs add labor and design time, though costs amortize well over high production volumes.
What are the steps involved in the die stamping process?
The process runs through feeding, blanking or piercing, forming or bending, stripping/ejection, and trimming. Each step relies on specific components like punches for cutting and pads for forming.
What are the basic components of a stamping die?
Core components include die plates and shoes, guide pins and bushings, punches, die buttons, springs, retainers, and stripper pads. These work together to align, cut, form, and eject material.
What are the three main types of stamping dies?
Single-station dies suit low-volume or simple parts, while progressive dies advance a strip through sequential stations for high-volume complex work. Transfer dies move separated parts between stations and fit deep-drawn or large components.
How often do stamping die components need to be replaced or resharpened?
Material, coating, and production volume set the schedule. Uncoated punches may need sharpening every few weeks; PVD-coated components often produce several times more parts before service.
Can coatings be applied to existing die components?
Most existing punches, die buttons, and inserts can be retrofitted with PVD coatings, provided they're single-piece metal parts free of plastic inserts, oxides, or surface contaminants. Aluminum and zinc alloys are excluded.